Basic Sourdough Bread
Makes 1 loaf
Ingredients
- 100 g sourdough starter (active, fed and at its highest point in the rise)
- 10 g sea salt
- 350 ml water (room temp)
- 500 g bread flour (we have trialled with regular, plain/all-purpose flour and it also works, just less springy in texture)
Instructions
- Read the notes section before starting to be aware of things to note.
- In a large bowl add the starter, salt and water and stir well to combine.
- Then add the flour and stir together until it resembles a shaggy dough, scraping any dry flour off the sides.
- Cover and leave this to rest for around 30 minutes (this is known as autolyse where the dough rests and the gluten development starts without the need for kneading). If you're in a time pinch you can do 15 mins or even an hour before performing the next set of stretch and folds.
- After the initial rest of the dough, you can begin a series of stretches and folds where you take the edge of the dough, pull upwards to stretch, then fold it over and complete this as you turn the bowl continuously (around 5-7 folds I find works for us). Repeat this every 30 minutes for a total of 4 stretches (we have done this as few as two stretches and it has still worked well if you need to do other things or go out), then leave the dough to complete the “BULK RISE” until it doubles in size, anywhere from 4-12 hours seems to be the sweet spot depending on temperature.
- Once the dough has doubled you want to pull it out onto a lightly floured surface and commence the “SHAPING” of your dough. There are many ways to do this, but what i find works is stretching sideways and upwards until relatively flat, then folding the bottom edge in, the sides in, the top in, and then rolling like a tight roll up towards the top of the dough. You can then pinch the sides and tuck it under itself to create a ball. Place it back on the bench and gently shape it by rolling the edges until a ball forms and stays. If you notice large air pockets you can gently tap at it to remove these. Then lift your ball off the bench and place it smooth side down into a banneton or lined Dutch oven, pinching any holes on the underside, then cover and place in the fridge to complete the “SECOND RISE” overnight for around 12 hours (or you can do this at room temperature for around 1 hour if wanting to bake on the same day, however, I find the flavour is better if left overnight in the fridge).
- When you’re ready to bake, preheat the oven to 225c/440f and place the Dutch oven in to preheat also (if not using it to rise) as this will give the bread that instant hit of heat when it goes in, if you are using your dutch oven to rise simply preheat the oven, remove the dutch oven from the fridge, score the top of your dough and place in and bake as below. For those rising in a banneton: remove the banneton from the fridge, place a baking sheet or paper on top of the banneton, followed by a chopping board, flip it over gently then score the top of your loaf to allow the steam to escape and avoid your loaf bursting in random places. Lift using the baking sheet or paper, and place into the preheated Dutch oven and then cover with the lid.
- Bake in the preheated oven for 30 minutes, then remove the lid and bake for a further 15-20 minutes until golden, and a hollow noise is heard when you tap the bottom of the loaf. Remove from the Dutch oven and allow to cool on a cooling rack completely. This is important as cutting before it is cool will lead to the moisture not distributing evenly and can result in a gummy texture.
- Once cool, slice and enjoy!
- Store at room temperature for 3 days, or freeze slices for up to 2 months.
Storage
Store in a container on the bench for 3 days, or freeze slices for up to 2 months.Notes
IMPORTANT NOTES:
OVEN: our oven is fan forced, adjust accordingly.
BULK RISE: A good guide is that the dough should double, look domed, and feel pillowy and jiggly when you shake the bowl. The poke test is not very reliable during bulk rise. Final proof poke test: If you poke the shaped dough and it springs back quickly it is under proofed. If it springs back slowly and leaves a slight indent it is ready. If it does not spring back it is over proofed.
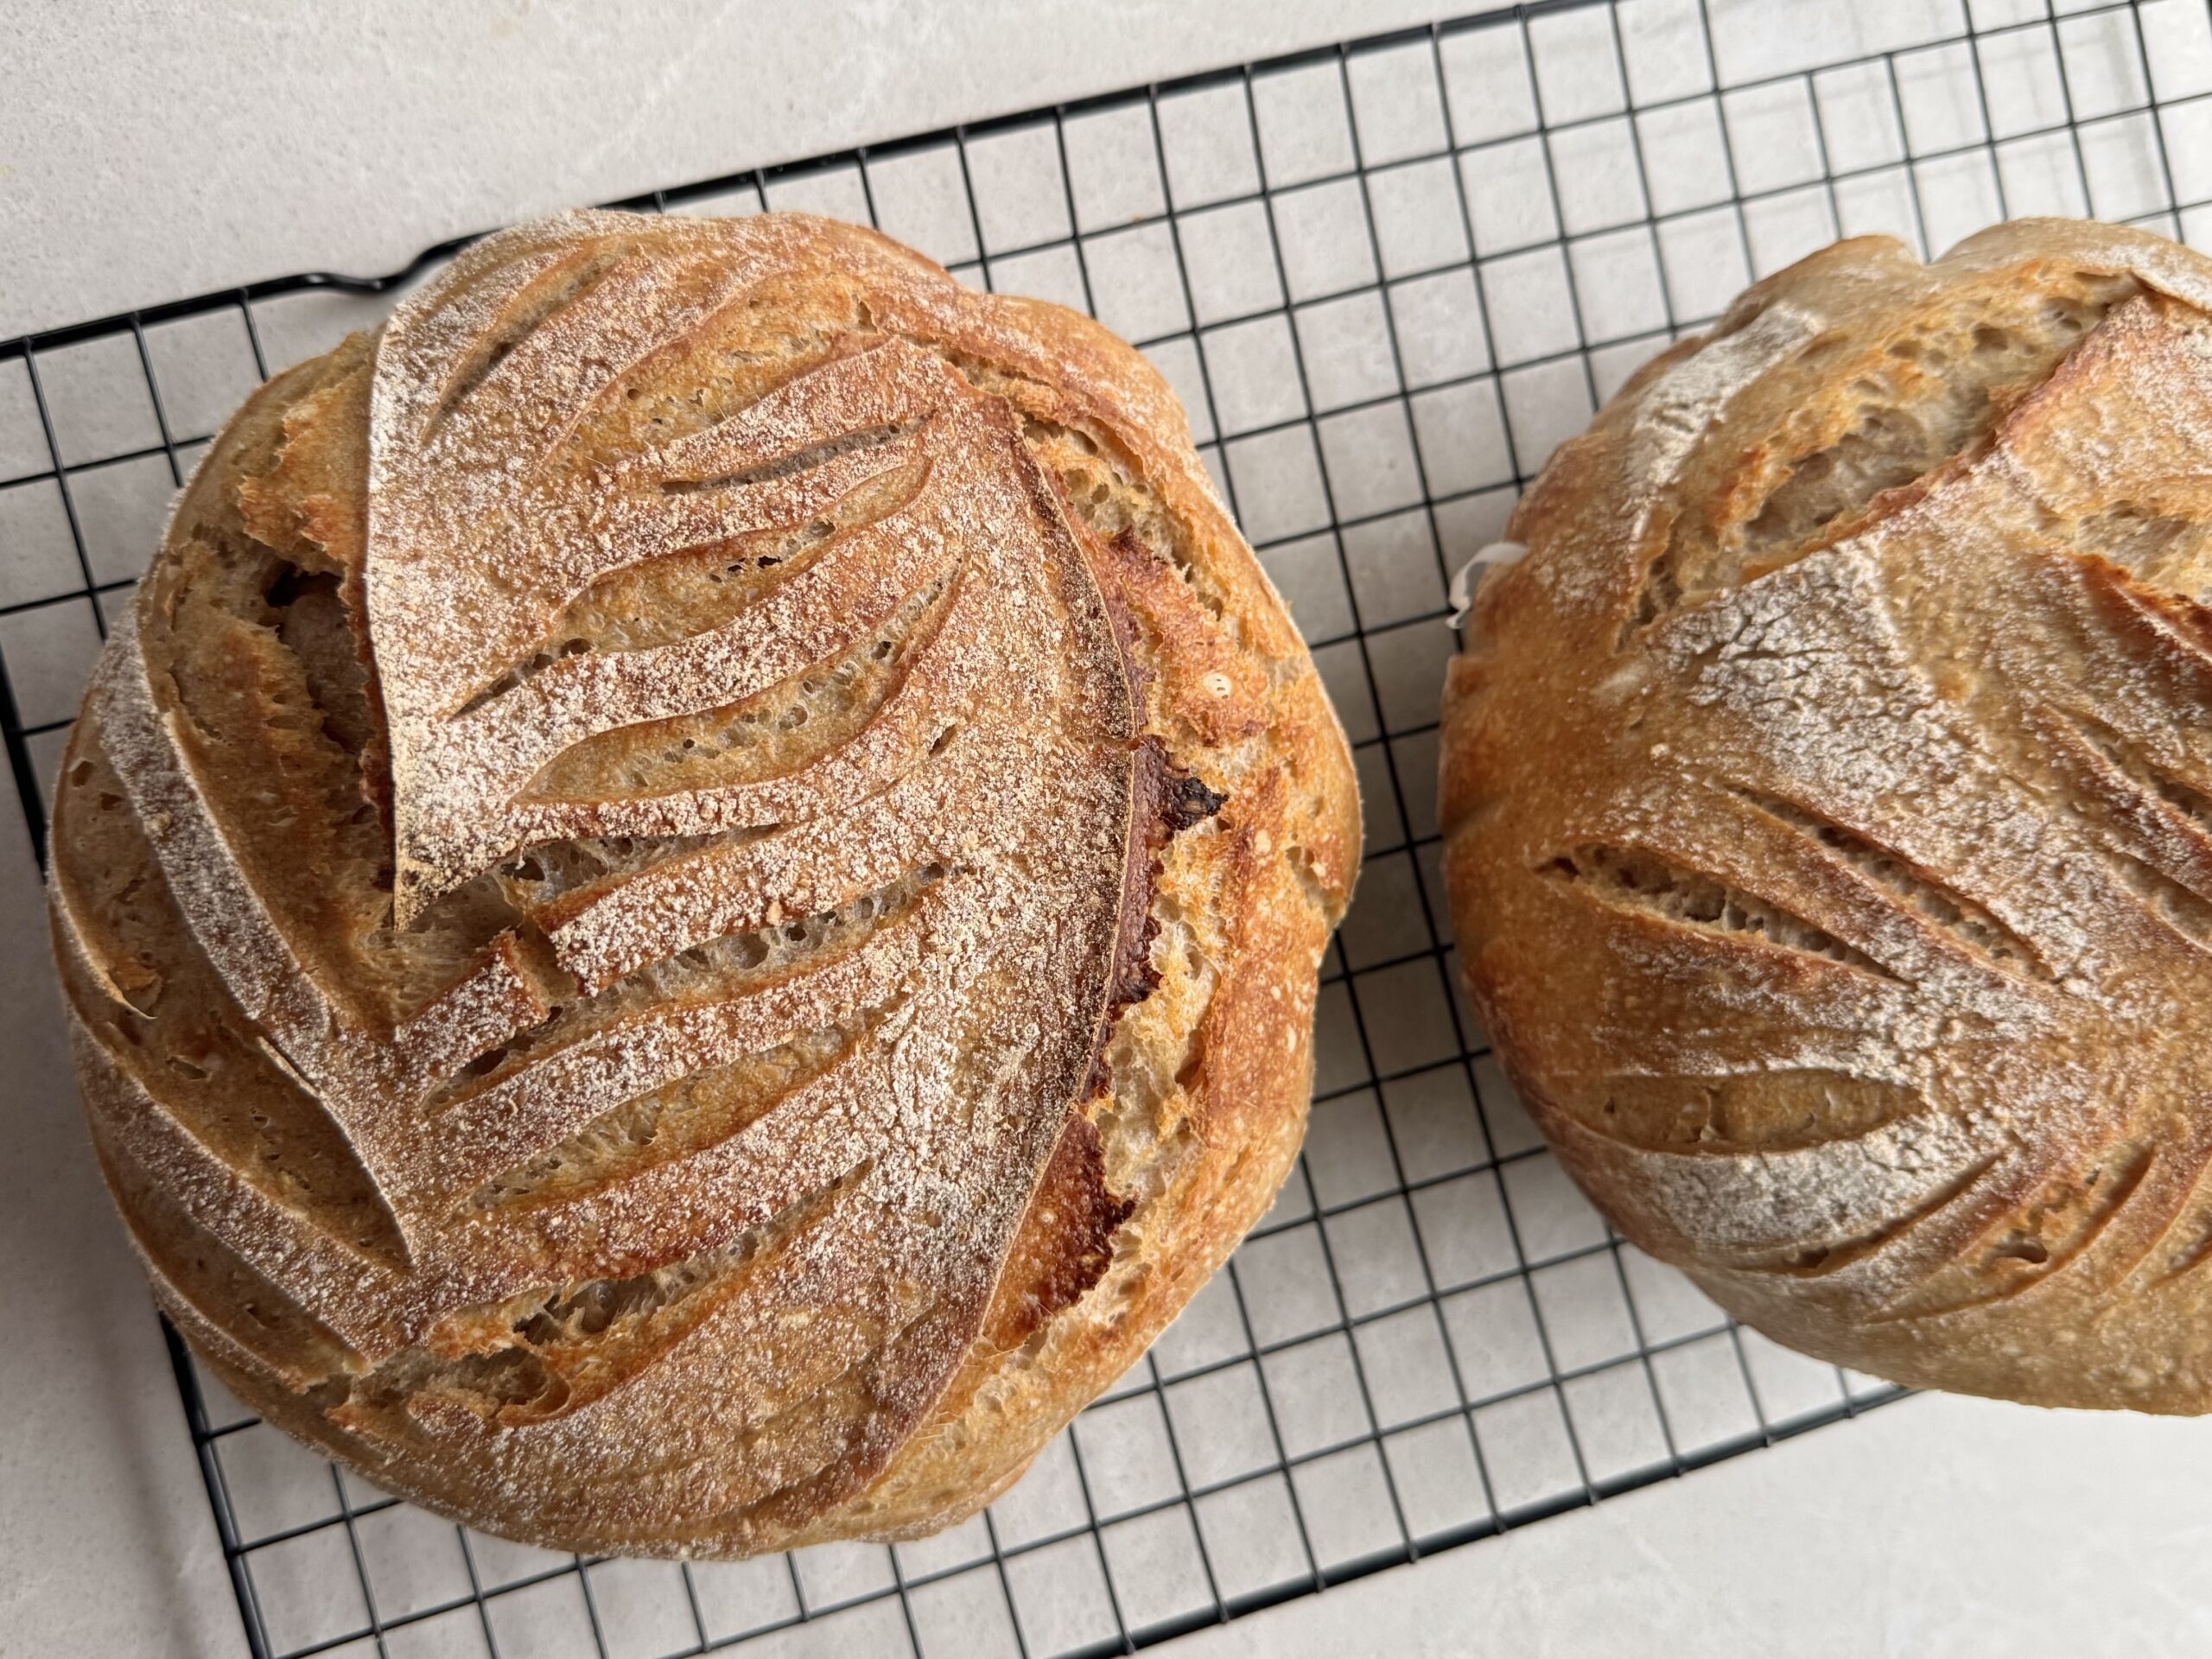
SCORING: Use a razor blade, lame or sharp knife to score the dough. Cutting at a slight angle gives a better “ear” and oven spring.
COOLING: Allow your loaf to cool for at least 1 to 2 hours before cutting to avoid a gummy texture. I know this is hard but it’s key!
DOUBLING THE RECIPE: I often double the recipe and perform the stretch and rises all in one large bowl. Then when I go to shape the dough, I split the dough in half, then use two bannetons for the second rise. This means less work and double loaves.
DUTCH OVEN ALTERNATIVE: If you do not have a Dutch oven you can bake on a tray or stone with a pan of boiling water in the oven to create steam.
FLOUR DUSTING: Use rice flour or arrowroot to dust your banneton or tea towel to stop sticking. Wheat flour can glue the dough down when it gets wet.
HYDRATION: This dough is around 70 percent hydration. Different flours absorb water differently so if your dough feels dry add a teaspoon of water at a time. If it feels too wet add a little extra flour.
TROUBLESHOOTING: If your loaf is dense it is often from under proofing. If it spreads flat it may be over proofed.
PATIENCE: Sourdough is very dependent on temperature and timing. If something does not work out it is usually a proofing time issue and not that your starter or recipe has failed.
DIFFERENT FLOURS: We often change up what flours we use. For example for a spelt, wholemeal or rye loaf, we sub 50% of the flour with spelt, rye, or wholemeal. Wholemeal often requires 1-2 Tbsp of extra water as it absorbs more.