If your little ones love sour lollies, these Kiwi Fruit Sour Gummies are such a fun homemade alternative. They have all the tangy flavour you’d expect, but they’re made almost entirely from fruit. Depending on how sweet your fruit is, you can add a little maple syrup, although ripe fruit often doesn’t need it.
DOWNLOAD THE LITTLE VEGAN EATS APP NOW
 300+ family-friendly vegan recipes
 Recipes filtered by age & allergies
 Track your child’s food journey
 Automated smart meal plans


One of our favourite things about this recipe is that it uses the whole kiwi, including the skin. Kiwi skin is completely edible and contains extra fibre, making it an easy way to get even more goodness from the fruit while reducing food waste. Once blended, you won’t notice the skin at all. It simply blends into the mixture while adding extra goodness.
Kiwi is one of the best fruit sources of vitamin C, and pairing it with fresh orange juice adds even more naturally occurring vitamin C along with a bright citrus flavour. The result is a refreshing snack that’s naturally colourful and packed with fruity goodness.
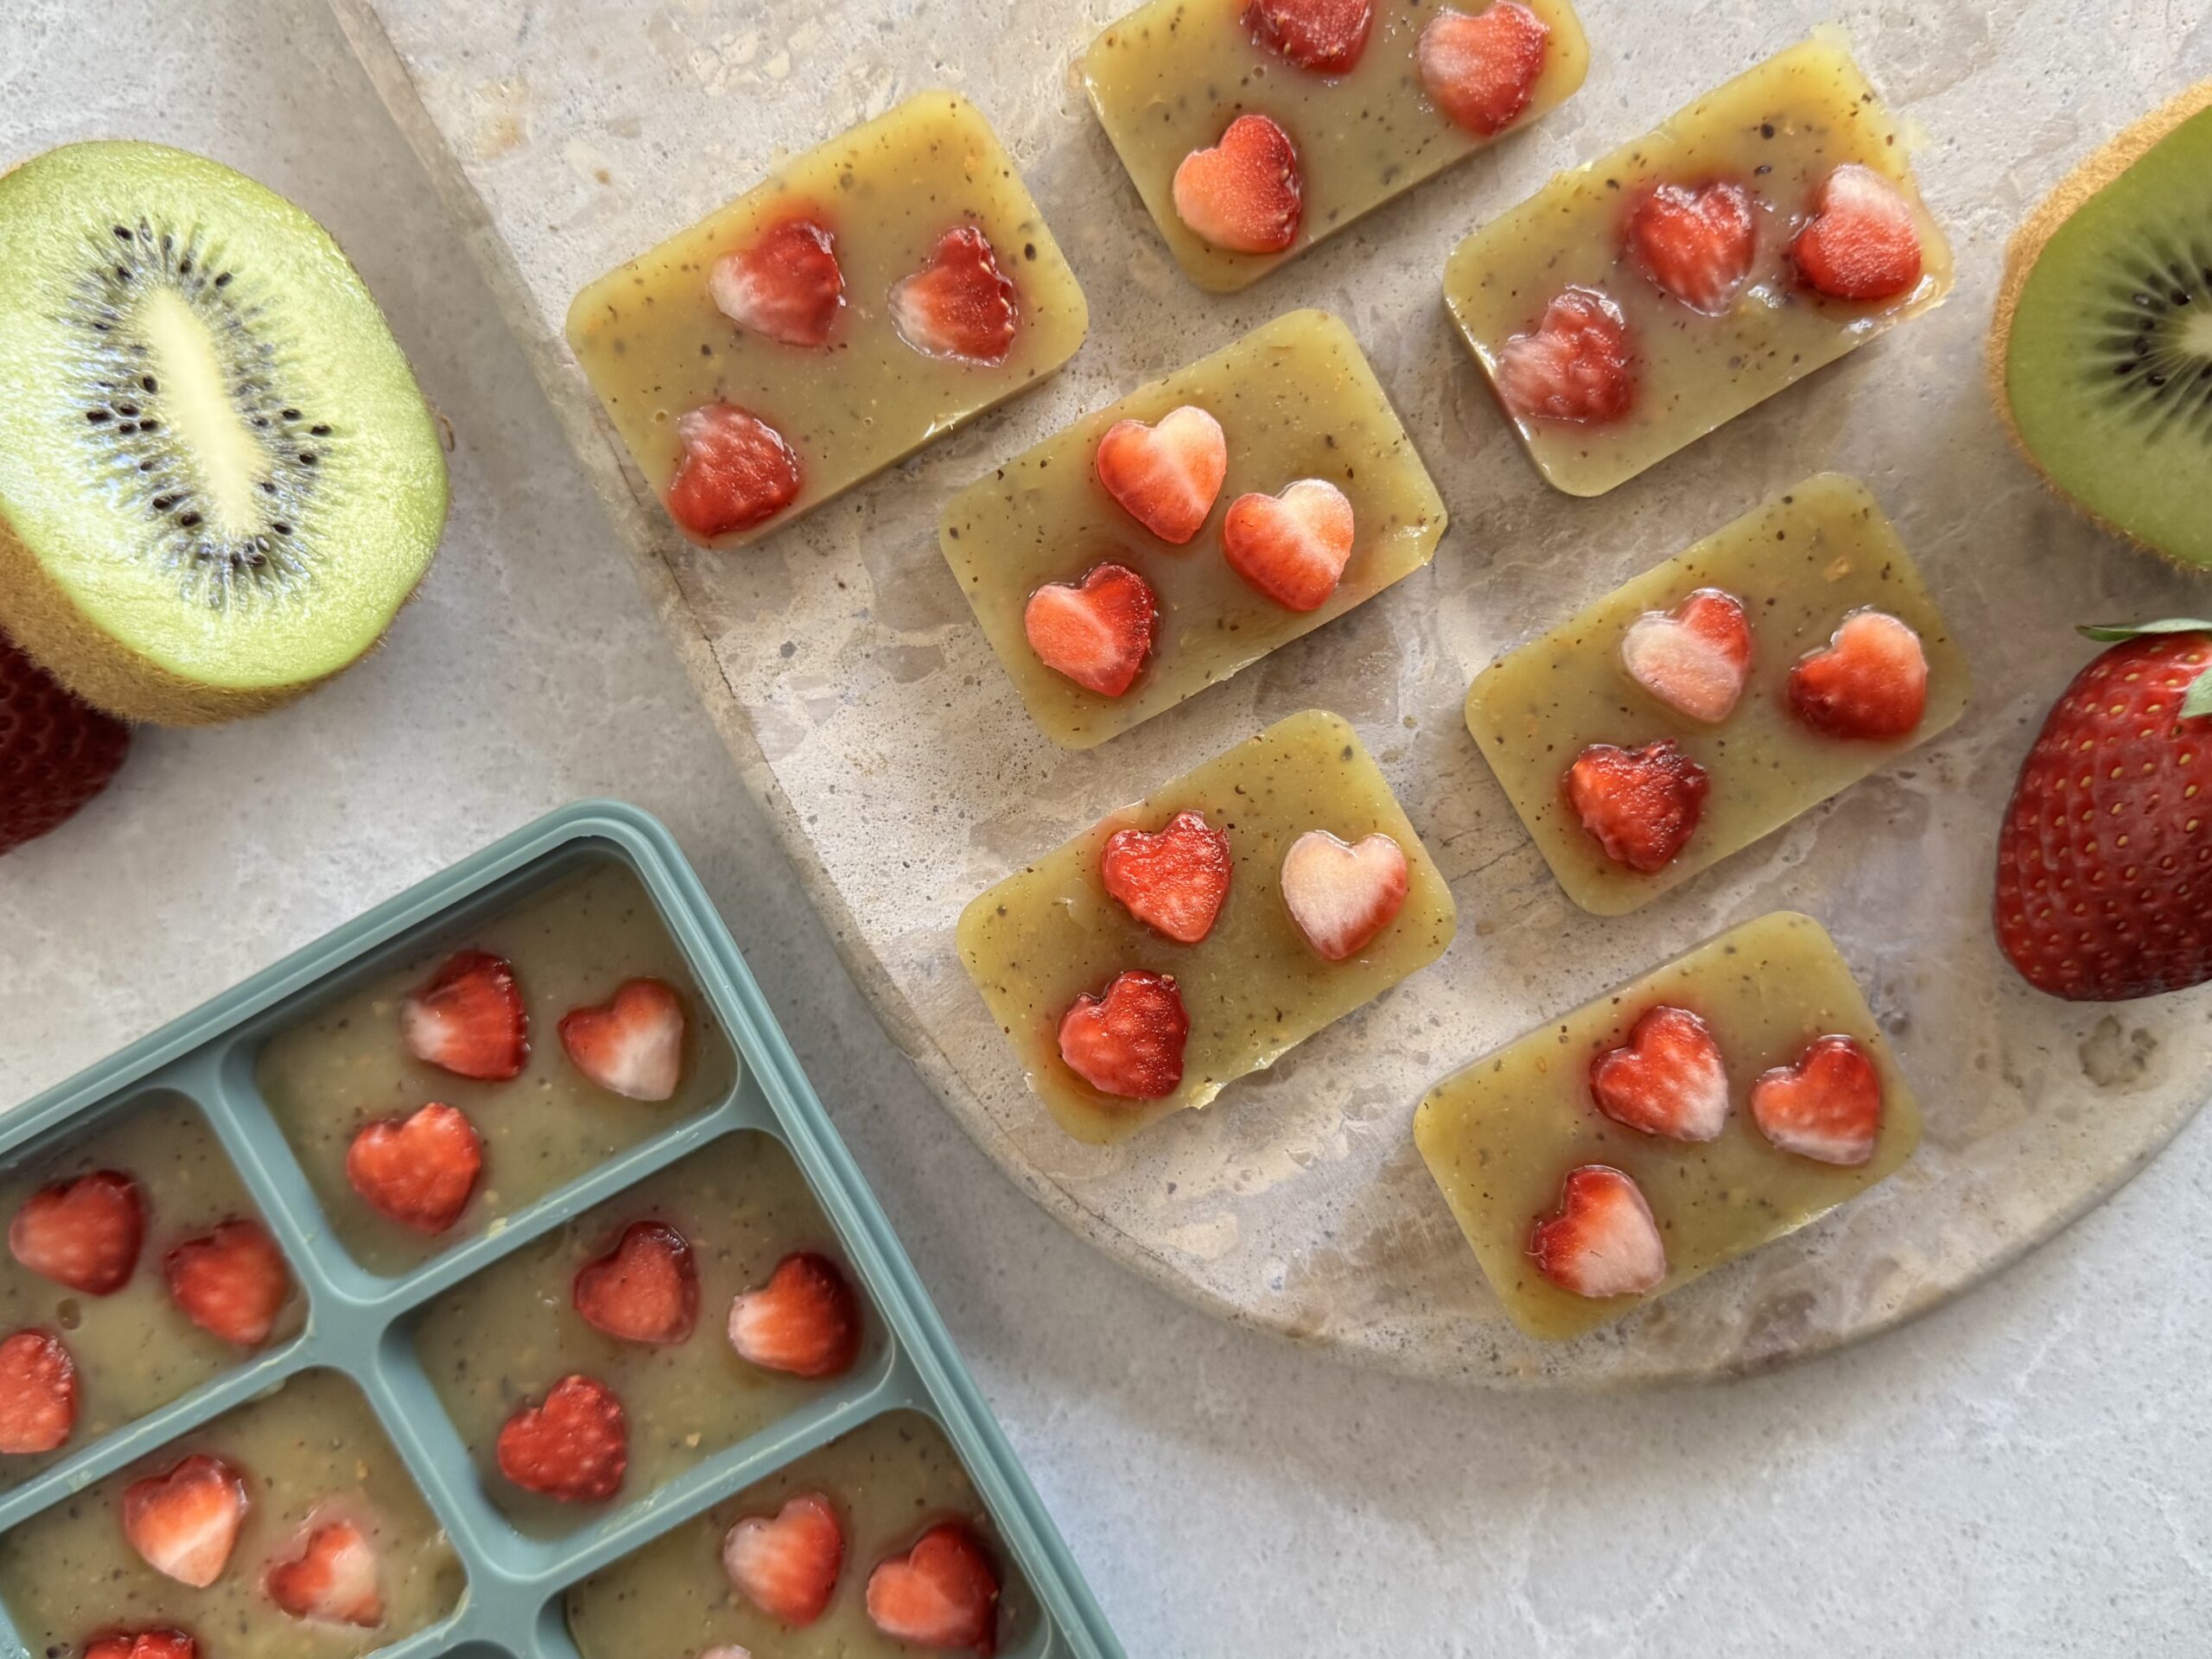
The little strawberry hearts are completely optional, but they make these gummies even more fun for kids. They’re perfect for lunchboxes, afternoon snacks or popping into the fridge for a refreshing treat on warm days.
They’re also incredibly easy to make. Simply blend, heat, pour and chill. Agar agar creates perfectly set vegan gummies without gelatine, making these Kiwi Fruit Sour Gummies a simple whole food snack the whole family can enjoy.
Kiwi Fruit Sour Gummies
Ingredients
- 1 large kiwi fruit (150g, ends trimmed, skin on)
- 125 ml orange juice (fresh)
- 1 tbsp maple syrup (optional up to 2 tbsp, depending on how sweet or sour your fruit is)
- 1 tsp agar agar powder
- 2 strawberries (optional - cut into small hearts)
Instructions
- Add the kiwi, orange juice and optional maple syrup to a blender and blend until completely smooth.
- Pour into a small saucepan and whisk in the agar agar powder.
- Bring to a boil while whisking continuously, then reduce to a gentle simmer for 2 minutes to activate the agar agar.
- Don’t worry if the mixture doesn’t thicken much while heating. Agar agar sets as it cools, not while it’s simmering.
- Allow the mixture to cool for 2 to 3 minutes.
- Pour into silicone moulds - this makes 12 x 25ml jellies.
- Immediately top with the optional strawberry hearts, gently pressing them onto the surface so they stay in place.
- Cover loosely and refrigerate for 1 to 2 hours, or until firm.
Storage
Store any leftovers in an airtight container in the fridge for up to 3 days.
Did you make this recipe?
Leave a comment below or tag us on Instagram to let me know what your little one thought!